Workflow execution
Preparation
This is a practical example following the instructions in section Workflow installation. Make sure you have snakemake available in your path. You may also be working inside one the proposed containers described in the section.
First we clone the repository.
$ git clone https://github.com/HI-FRIENDS-SDC2/hi-friends
This is what you will see.

Now, we access the newly created directory and install the dependencies:
$ cd hi-friends
$ mamba env create -f environment.yml

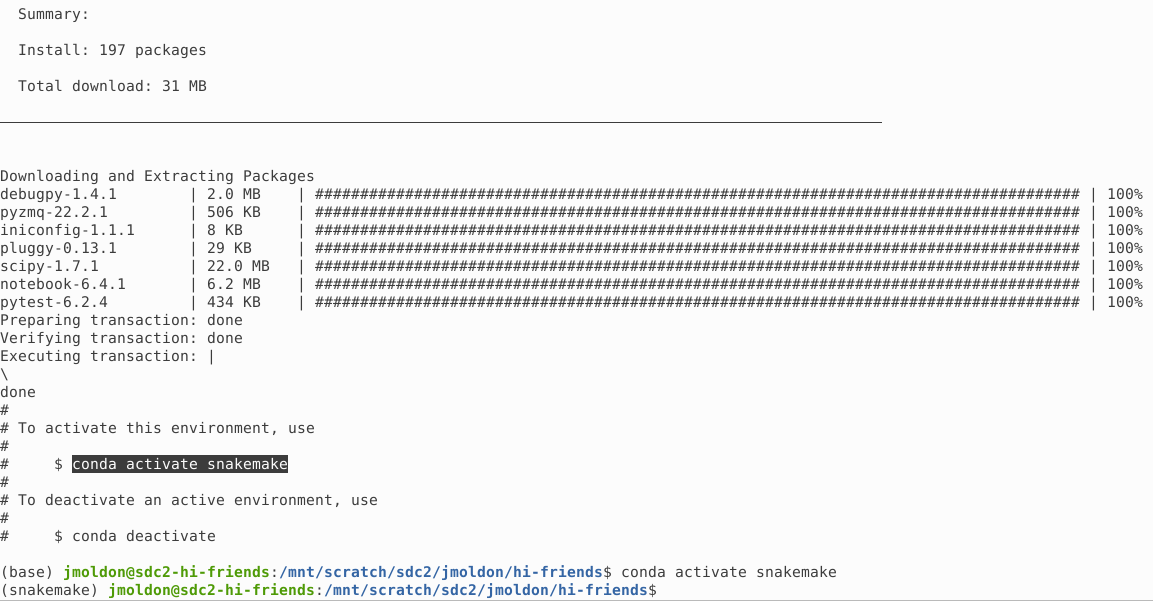
After a few minutes you will see the confirmation of the creation of the snakemake conda environment, which you can activate immediately:
Basic usage and verification of the workflow
You can check the basic usage of the execution script with:
$ python run.py -h

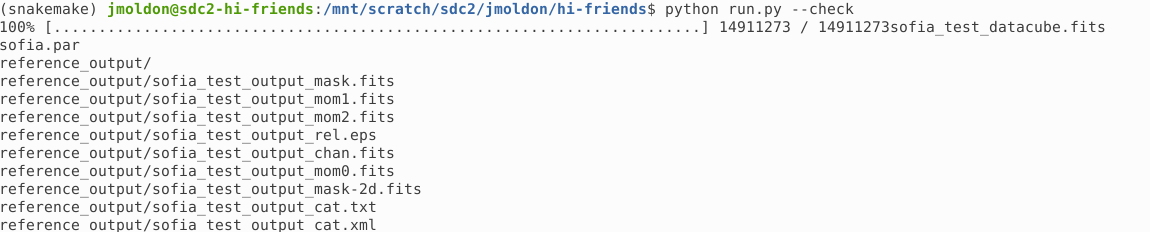
From here you can control how many CPUs to use, and you can enable the --check option, which runs the workflow in a small test dataset.
Using the --check option produces several stages. First, it automatically downloads a test dataset:
Second, snakemake is executed with specific parameters to quickly process this test datacube. Before executing the scripts, snakemake will create all the conda environments required for the execution. This operation may take a few minutes:

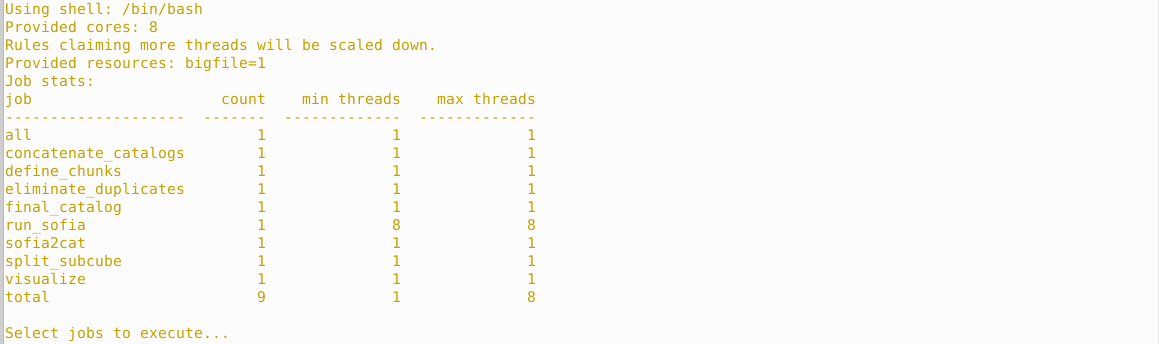
Third, snakemake will build a DAG to describe the execution order of the different steps, and execute them in parallel when possible:
Before each step is started, there is a summary of what will be executed and which conda environment will be used. Two examples at different stages:


After the pipeline is finished, snakemake is executed 3 more times to produce the workflow diagrams and an HTML report:

This is how your directory looks after the execution.
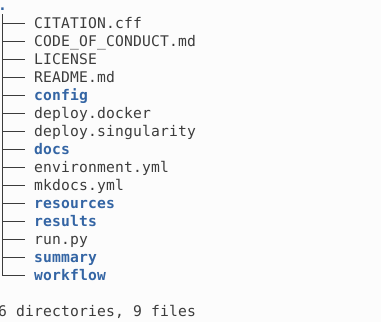
All the results are stored in results following the structure described in Output products. The interim directory contains subcube fits file, which can be removed to reduce used space.
Execution on a data cube
If you want to execute the workflow on your own data cube, you have to edit the config/config.yaml file. In particular, you must select the path of the datacube using the variable incube.
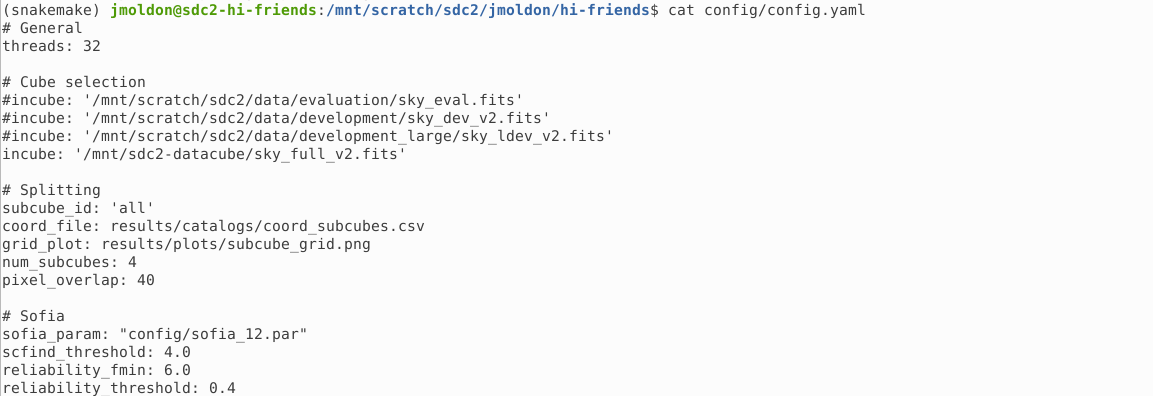
You may leave the other parameters as they are, although it is recommended that you adapt the sofia_param file with a Sofia parameters file that works best with your data.
Before re-executing the pipeline, you can clean all the previous products by removing directories interim and results. If you remove specific files from results, snakemake will only execute the required steps to generate the deleted files, but not the ones already existing.
$ rm -rf results/ interim/
You can modify the parameters file and execute run.py to run everything directly with python run.py. But you can also run snakemake with your preferred parameters. In particular, you can parse configuration parameters explicitly in the command line. Let’s see some examples:
Execution of the workflow using the configuration file as it is, with default parameters
snakemake -j32 --use-conda --conda-frontend mamba --default-resources tmpdir=tmp --resources bigfile=1
Execution specifying a different data cube:
snakemake -j32 --use-conda --conda-frontend mamba --default-resources tmpdir=tmp --resources bigfile=1 --config incube='/mnt/scratch/sdc2/data/development/sky_dec_v2.fits'

You could define any of the parameters in the config.yaml file as needed. For example:
snakemake -j32 --use-conda subcube_id=[0,1,2,3] num_subcubes=16 pixel_overlap=4 --config incube='/mnt/scratch/sdc2/data/development/sky_dec_v2.fits'